
Tower Garden Growing Guide
Learn how to grow nutrient-dense greens, vegetables, and herbs at home with Tower Garden by Juice Plus. This step-by-step guide covers starting seedlings in rockwool, transferring plants into the tower, and maintaining the system for healthy, productive growth.
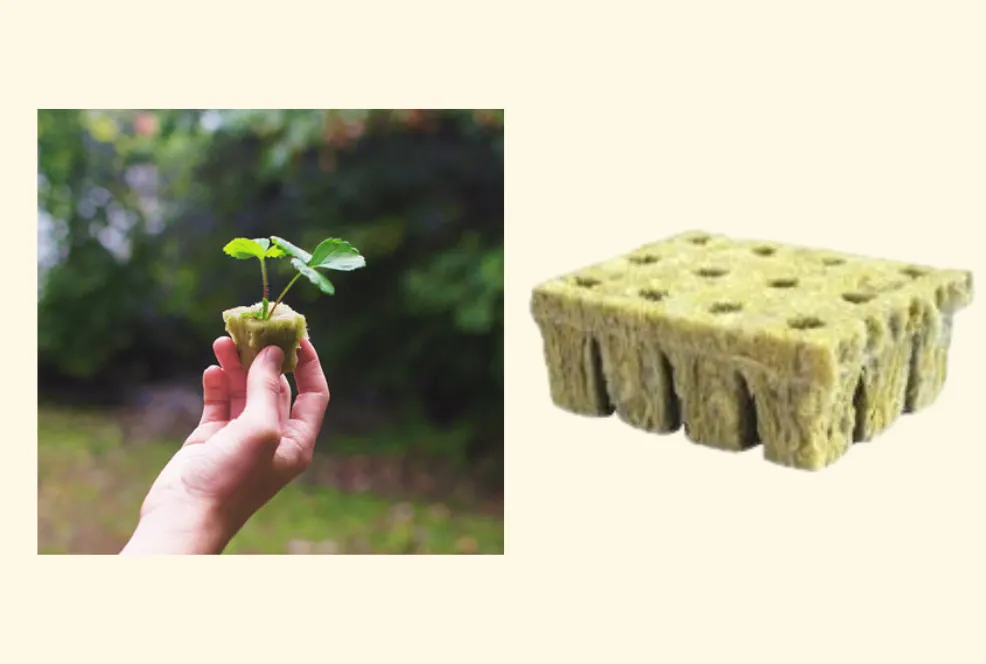
What is Rockwool?
Rockwool is a lightweight growing medium commonly used for starting seedlings. Made from spun volcanic rock, it holds water and nutrients while still allowing oxygen to reach developing roots. This combination helps seedlings establish quickly, making rockwool especially useful for vertical hydroponic gardening.
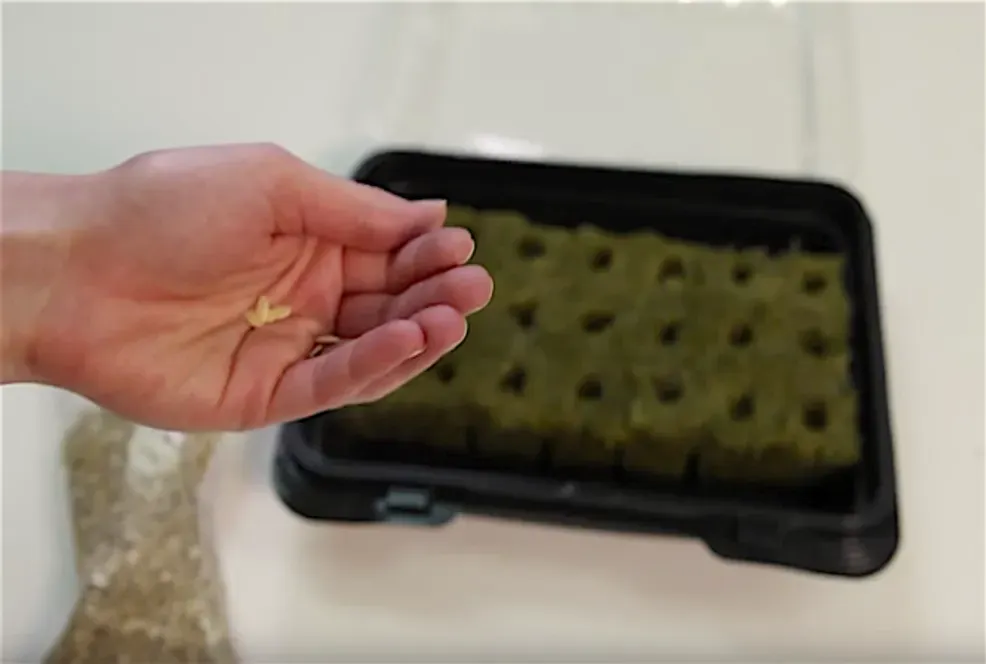
Starting Seeds in Rockwool
Soak rockwool cubes in water for about 30 minutes before planting. Place seeds in the pre-cut holes (6–12 for very small seeds like lettuce or herbs, or 1–2 for larger seeds like tomatoes or zucchini). Lightly cover with vermiculite and place cubes in the germination tray. Keep cubes moist by adding a small amount of water to the tray each day.
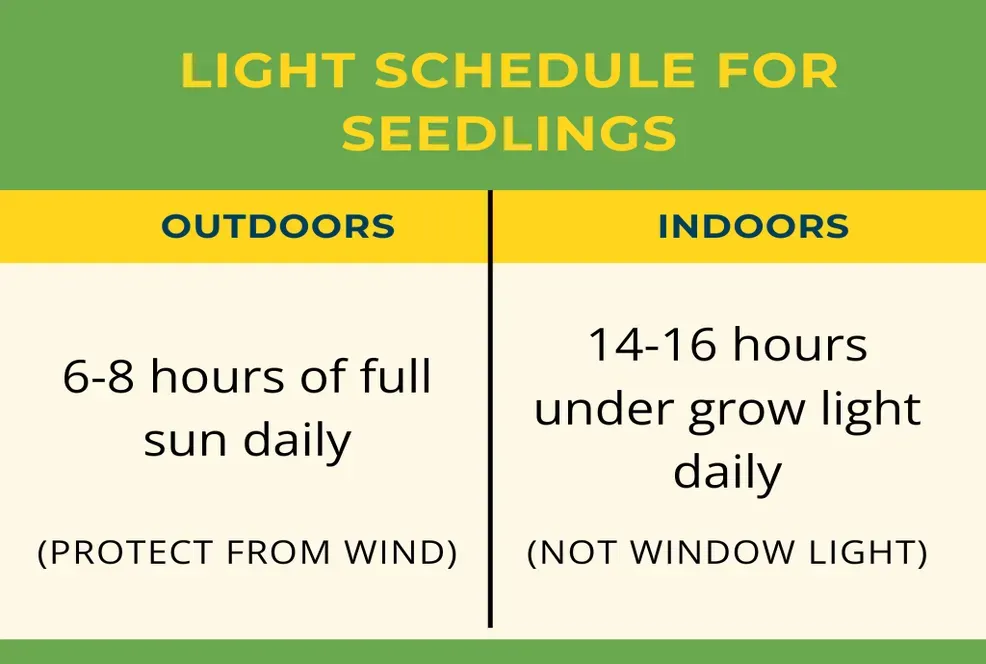
Light Schedule for Seedlings
Once seedlings sprout, they need consistent light to grow well. Outdoors, place seedlings in a location with about 6–8 hours of sunlight each day. Indoors, position a grow light 2–4 inches above the seedlings and provide 14–16 hours of light daily using a timer. Keep the rockwool cubes moist as the seedlings continue to grow.
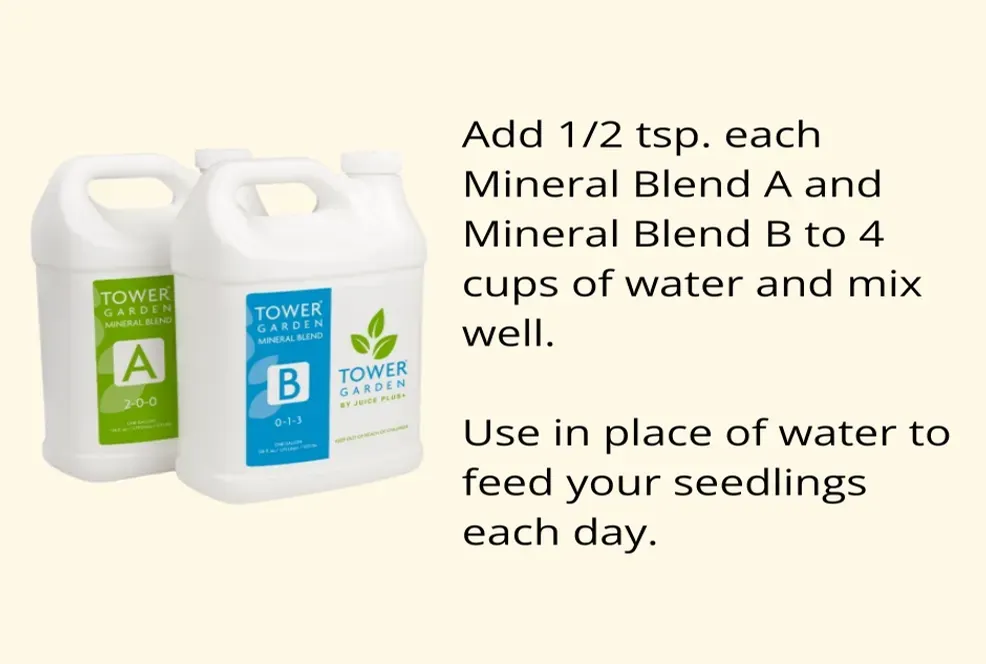
When to Fertilize Seedlings
After about 2–3 weeks, when seedlings have true leaves and are about 1–2 inches tall, begin feeding a diluted nutrient solution. Mix Mineral Blend A and B according to the ratios shown in the image and add about ¼ cup of the solution to the tray each morning instead of plain water until seedlings are ready to transplant.
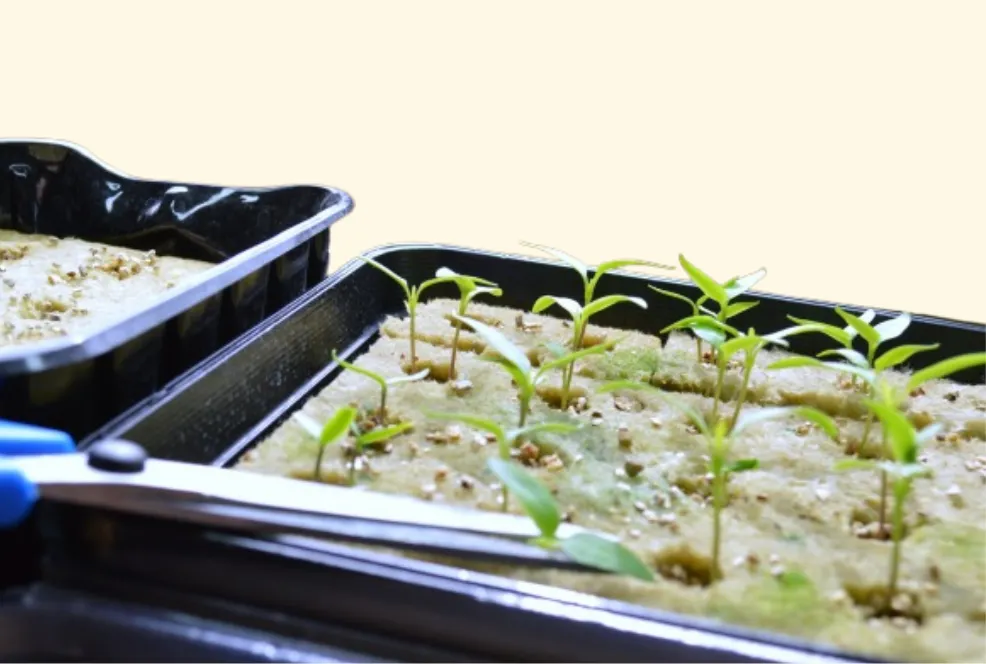
How to Thin Seedlings
Thinning reduces crowding and helps seedlings grow stronger. Leafy greens and herbs can often remain with multiple seedlings in one cube. For larger plants, use scissors to cut the weaker seedlings at the base, leaving the strongest plant to continue growing.
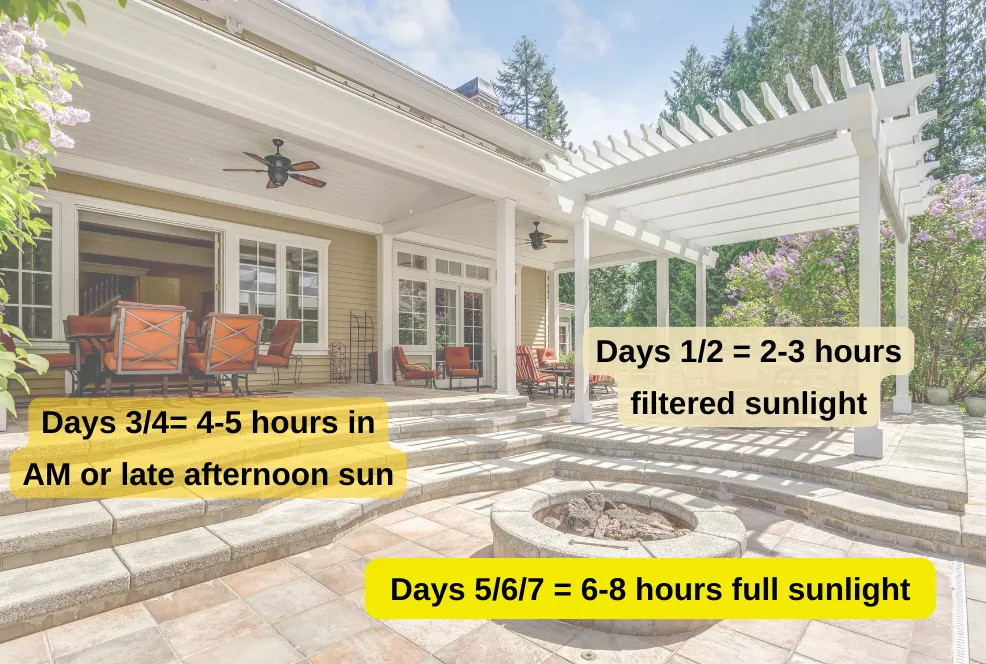
Harden Off Seedlings
If you plan to move seedlings outdoors, gradually acclimate them to sunlight over about 7 days. Start with 2–3 hours of filtered sun, then increase exposure to 4–5 hours of morning or afternoon sun. By the end of the week, seedlings should be ready for 6–8 hours of full sunlight.
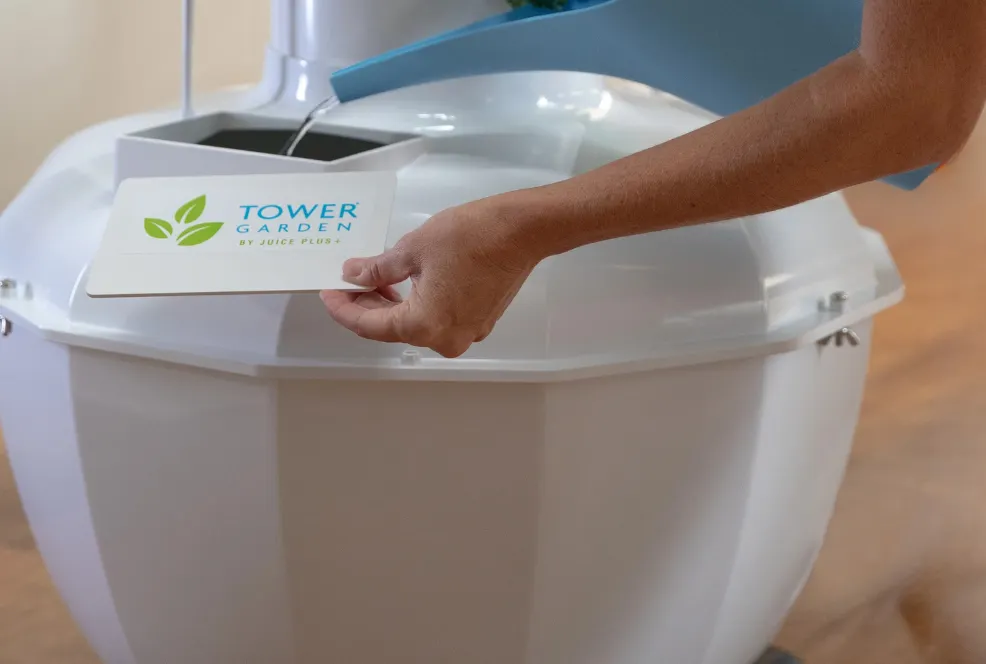
Set Up Your Tower Garden
Place your tower in a level location indoors or outdoors. You can assemble the system and have it ready so seedlings can be transferred as soon as they reach the appropriate size. When your seedlings are ready to transplant, fill the reservoir with water and add Mineral Blend A and B at half strength for the first month. Test the pH and adjust if needed to keep it between 5.5 and 6.5. Plug in the pump and grow lights to begin the growing cycle.
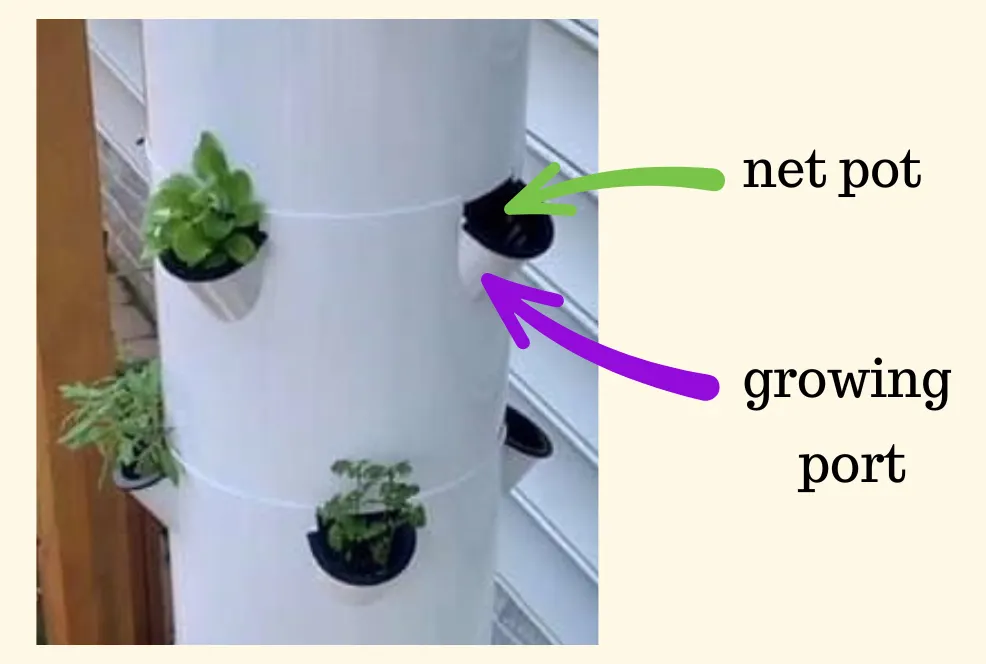
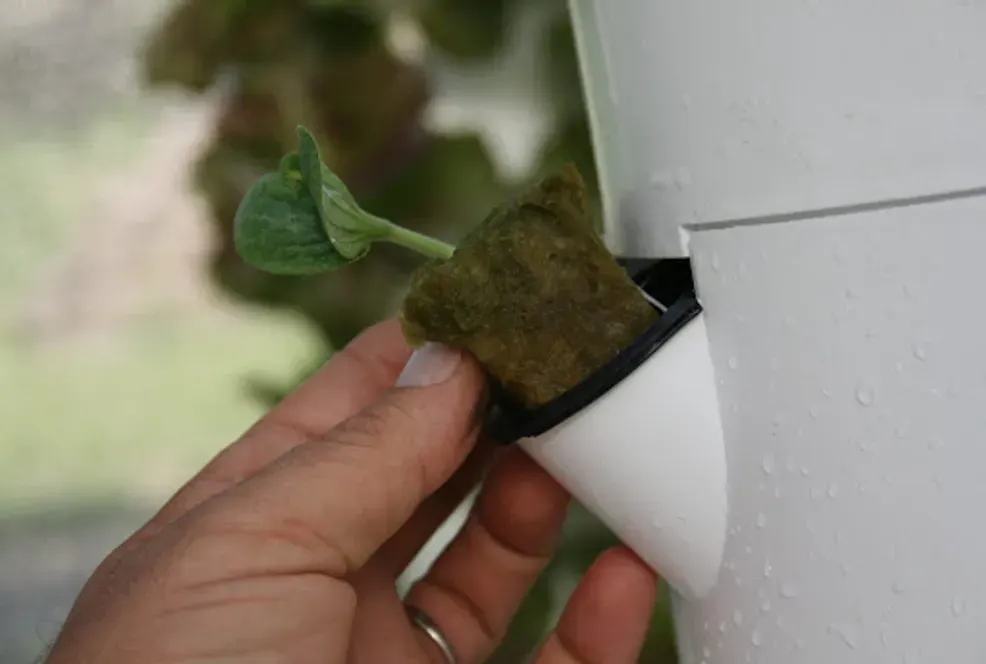
Transfer Seedlings to Your Tower Garden
When seedlings reach about 3 inches tall and roots extend from the bottom of the rockwool cube, they are ready to transfer to the tower. Place one cube into each growing port so the base of the cube touches the bottom of the net pot. For indoor growing, position the grow lights about 2–4 inches above the plants and set a timer for 14–16 hours of light each day.
Maintain Your Tower Garden for Healthy Plants
Check the reservoir regularly to be sure the pump remains submerged. When refilling the reservoir, add Mineral Blend A and B at the recommended rate of about 20 ml per gallon of water. Test the pH weekly and adjust as needed to keep it between 5.5 and 6.5. Periodically inspect plants for pests or signs of nutrient deficiencies.
Harvesting Your Plants
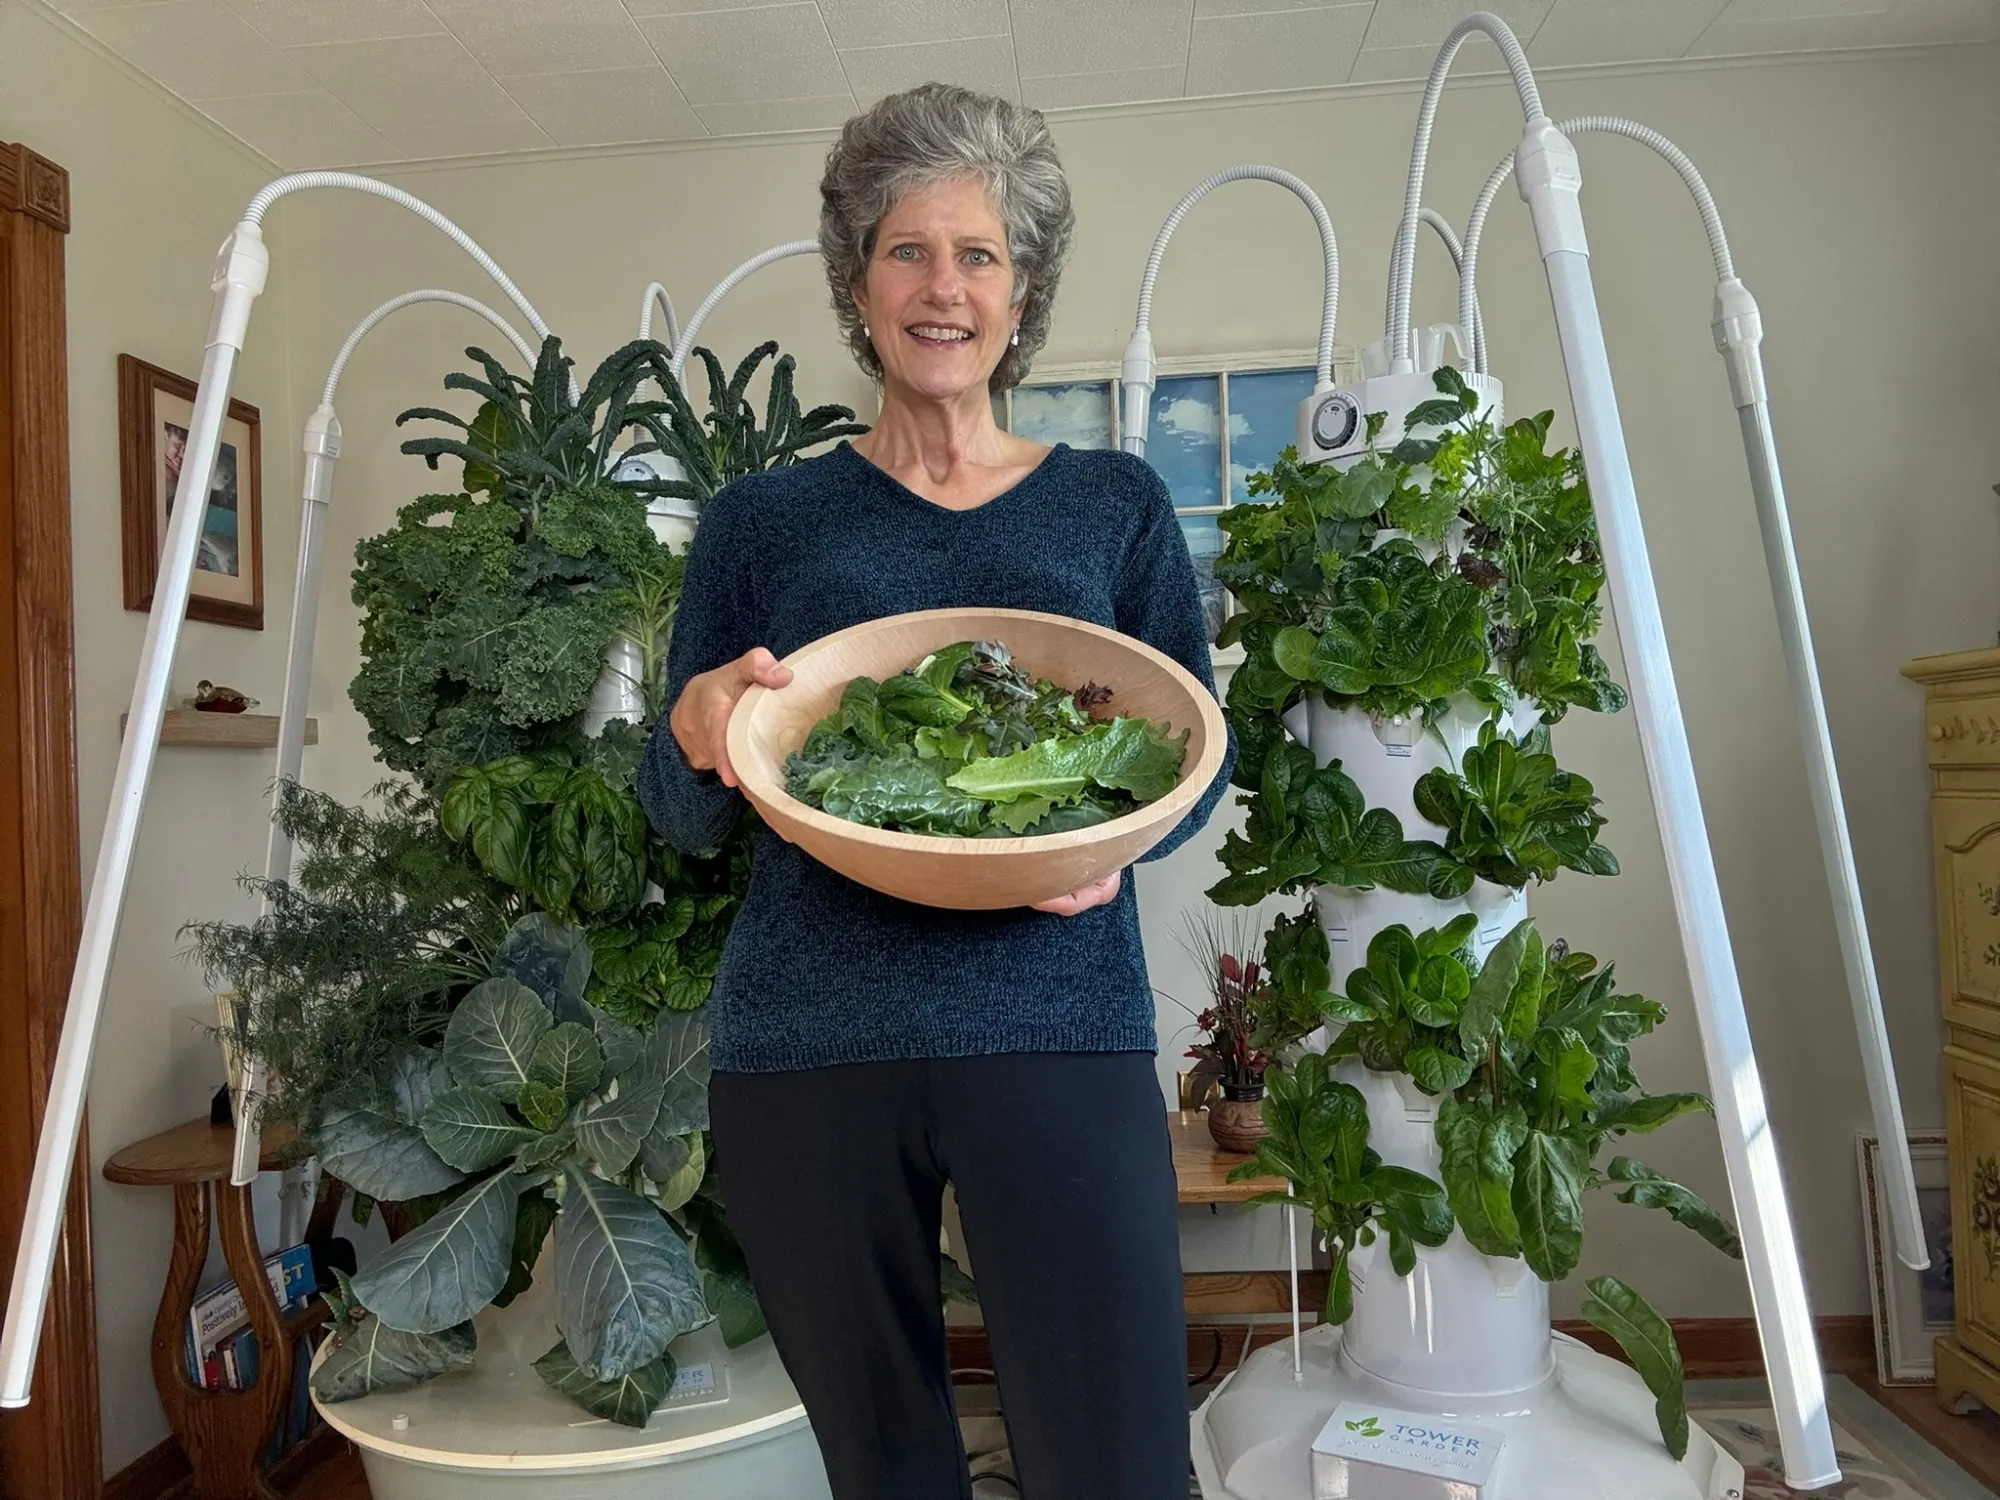
Harvest plants when they reach a good size for eating. Leafy greens and herbs can be snipped as needed once they reach about 6–8 inches tall. For fruiting crops, pick vegetables when they are fully developed and ripe. Use clean scissors or pruners when harvesting.
Ready to Start Growing?
If you're curious about growing your own food at home, the next step is understanding which Tower Garden system may fit your space and growing style.
Affiliate disclosure applies to purchases made through links on this site, at no additional cost to you.